
Workflow Builder
About the Workflow Builder
The Workflow Builder is where workflows are created, configured, and maintained in Bynn’s Intelligent Data Collection Tool. It provides a visual canvas where nodes are added, connected, and configured to define the workflow. From the builder, users can add steps, configure node settings, define routing paths, and prepare the workflow for testing or live use.
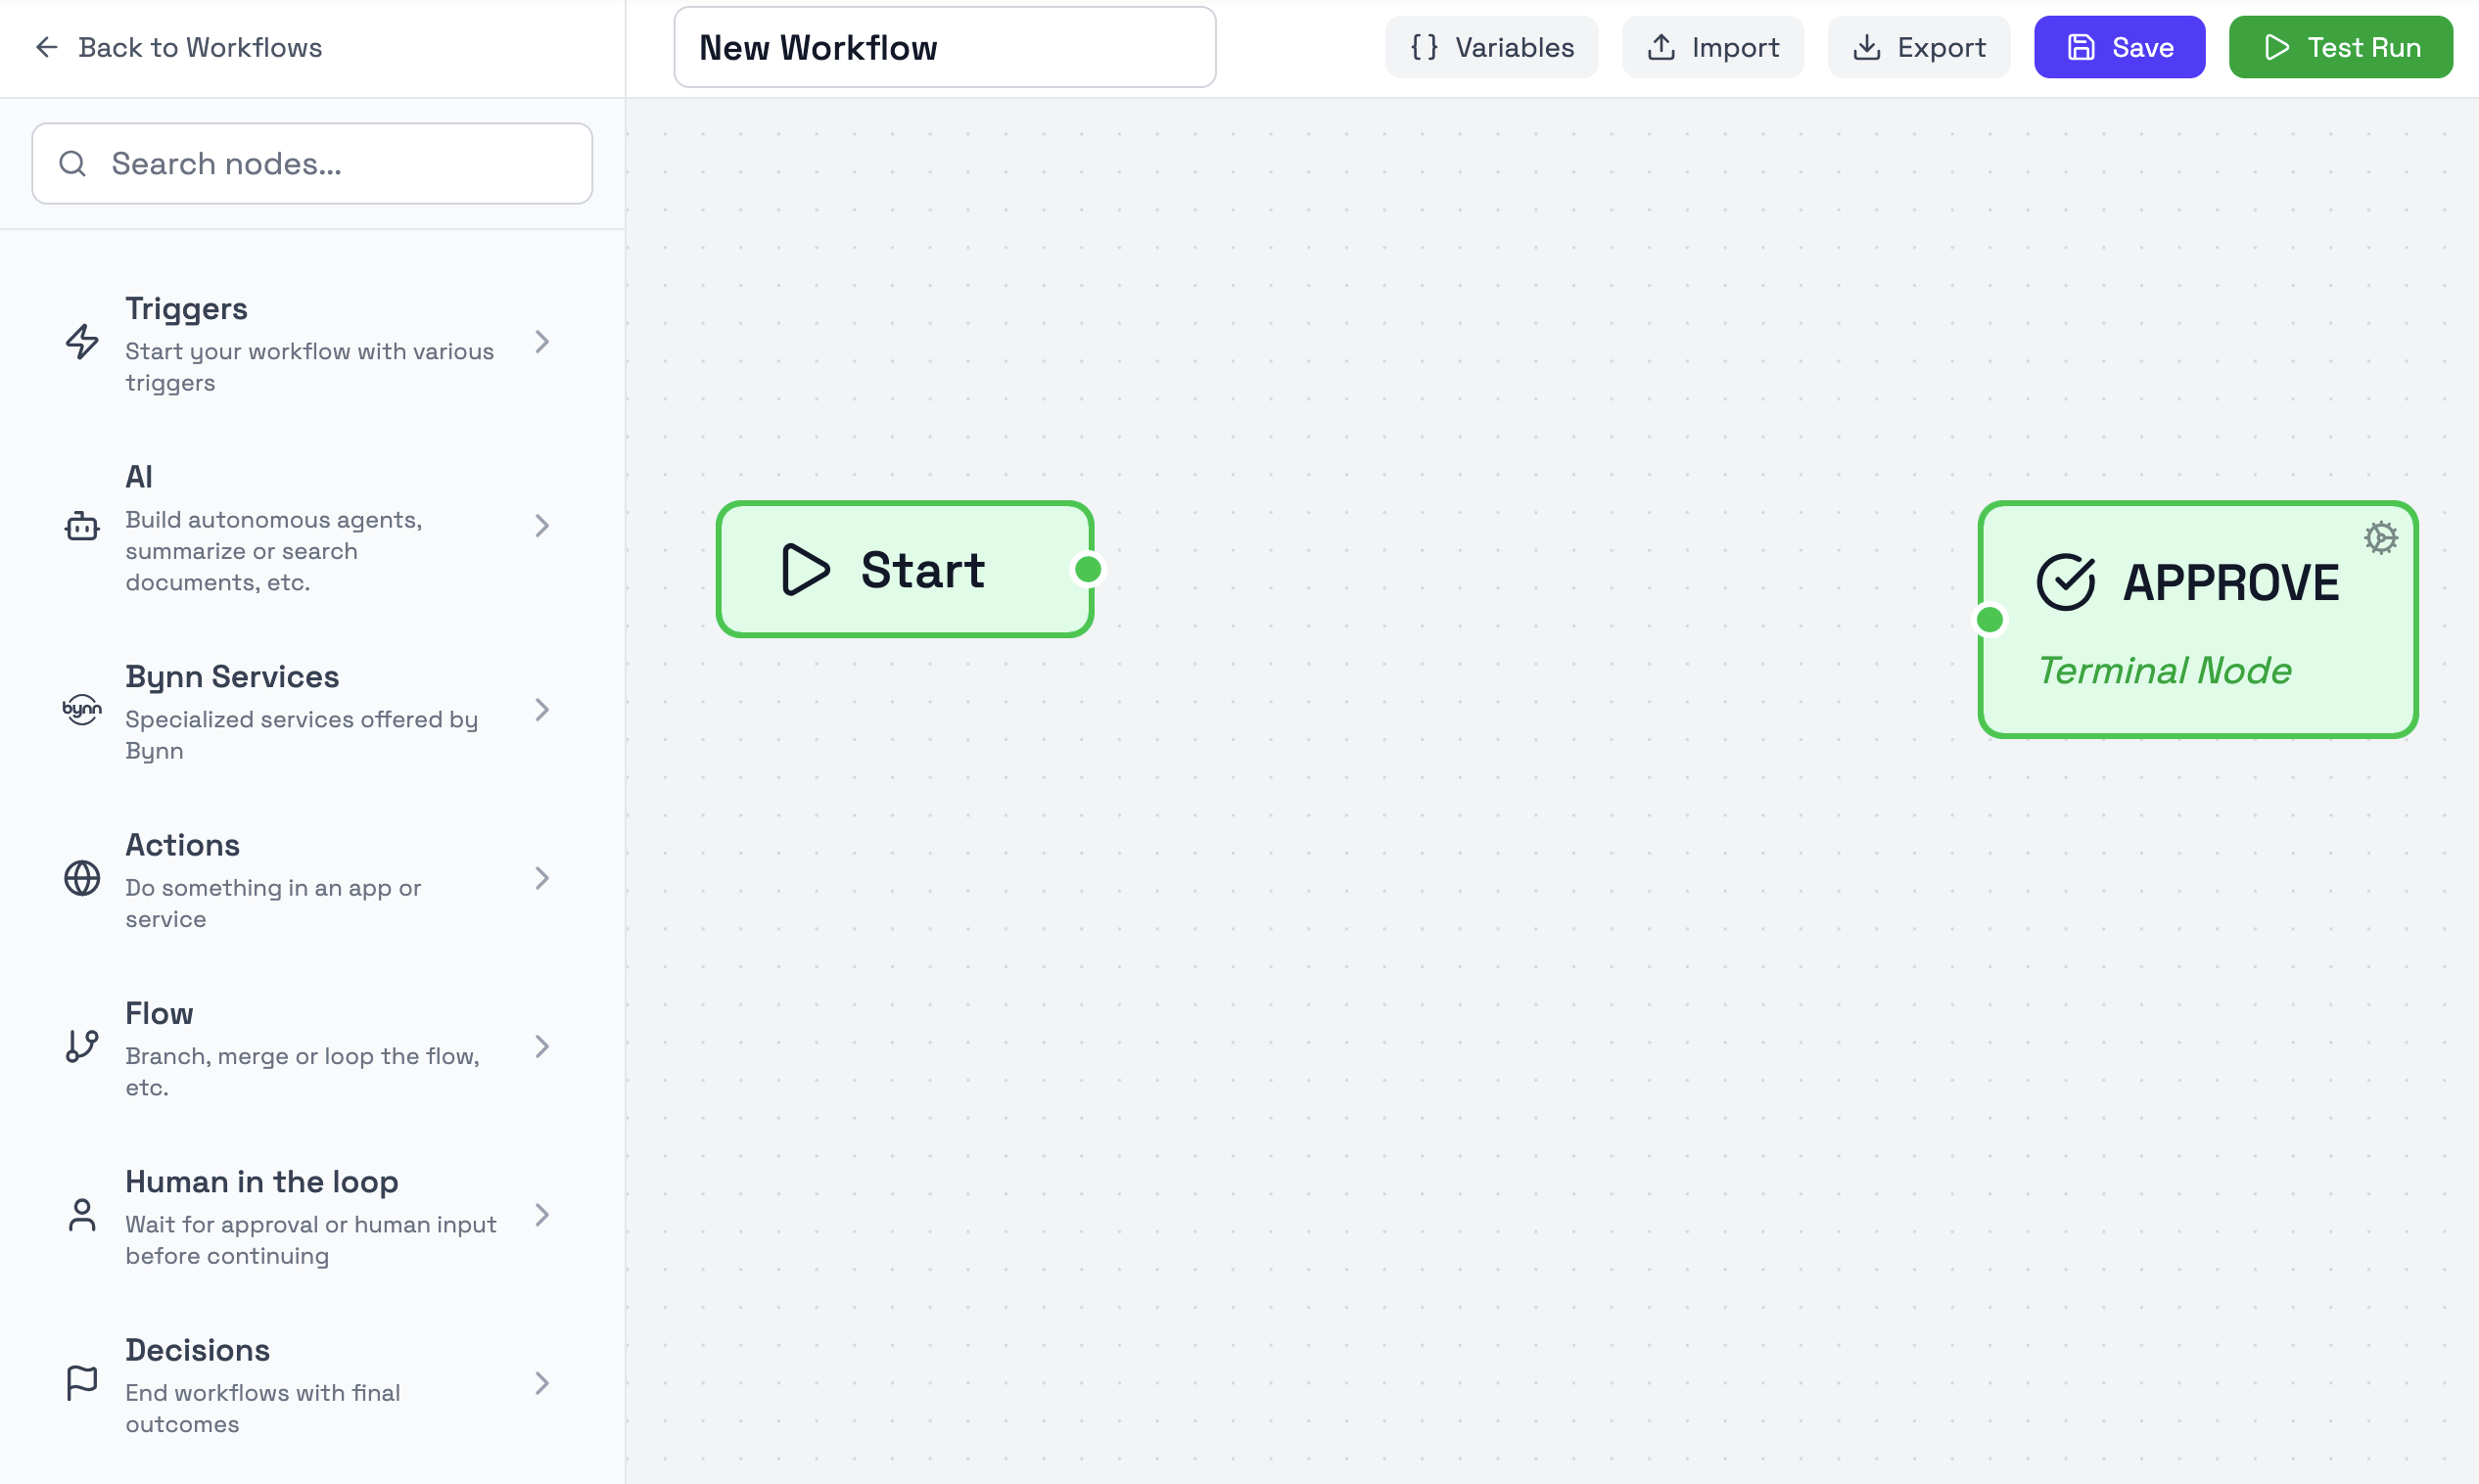
A new workflow opens directly in the builder. By default, it starts with a Start node and an APPROVE node already placed on the canvas.
Creating a workflow
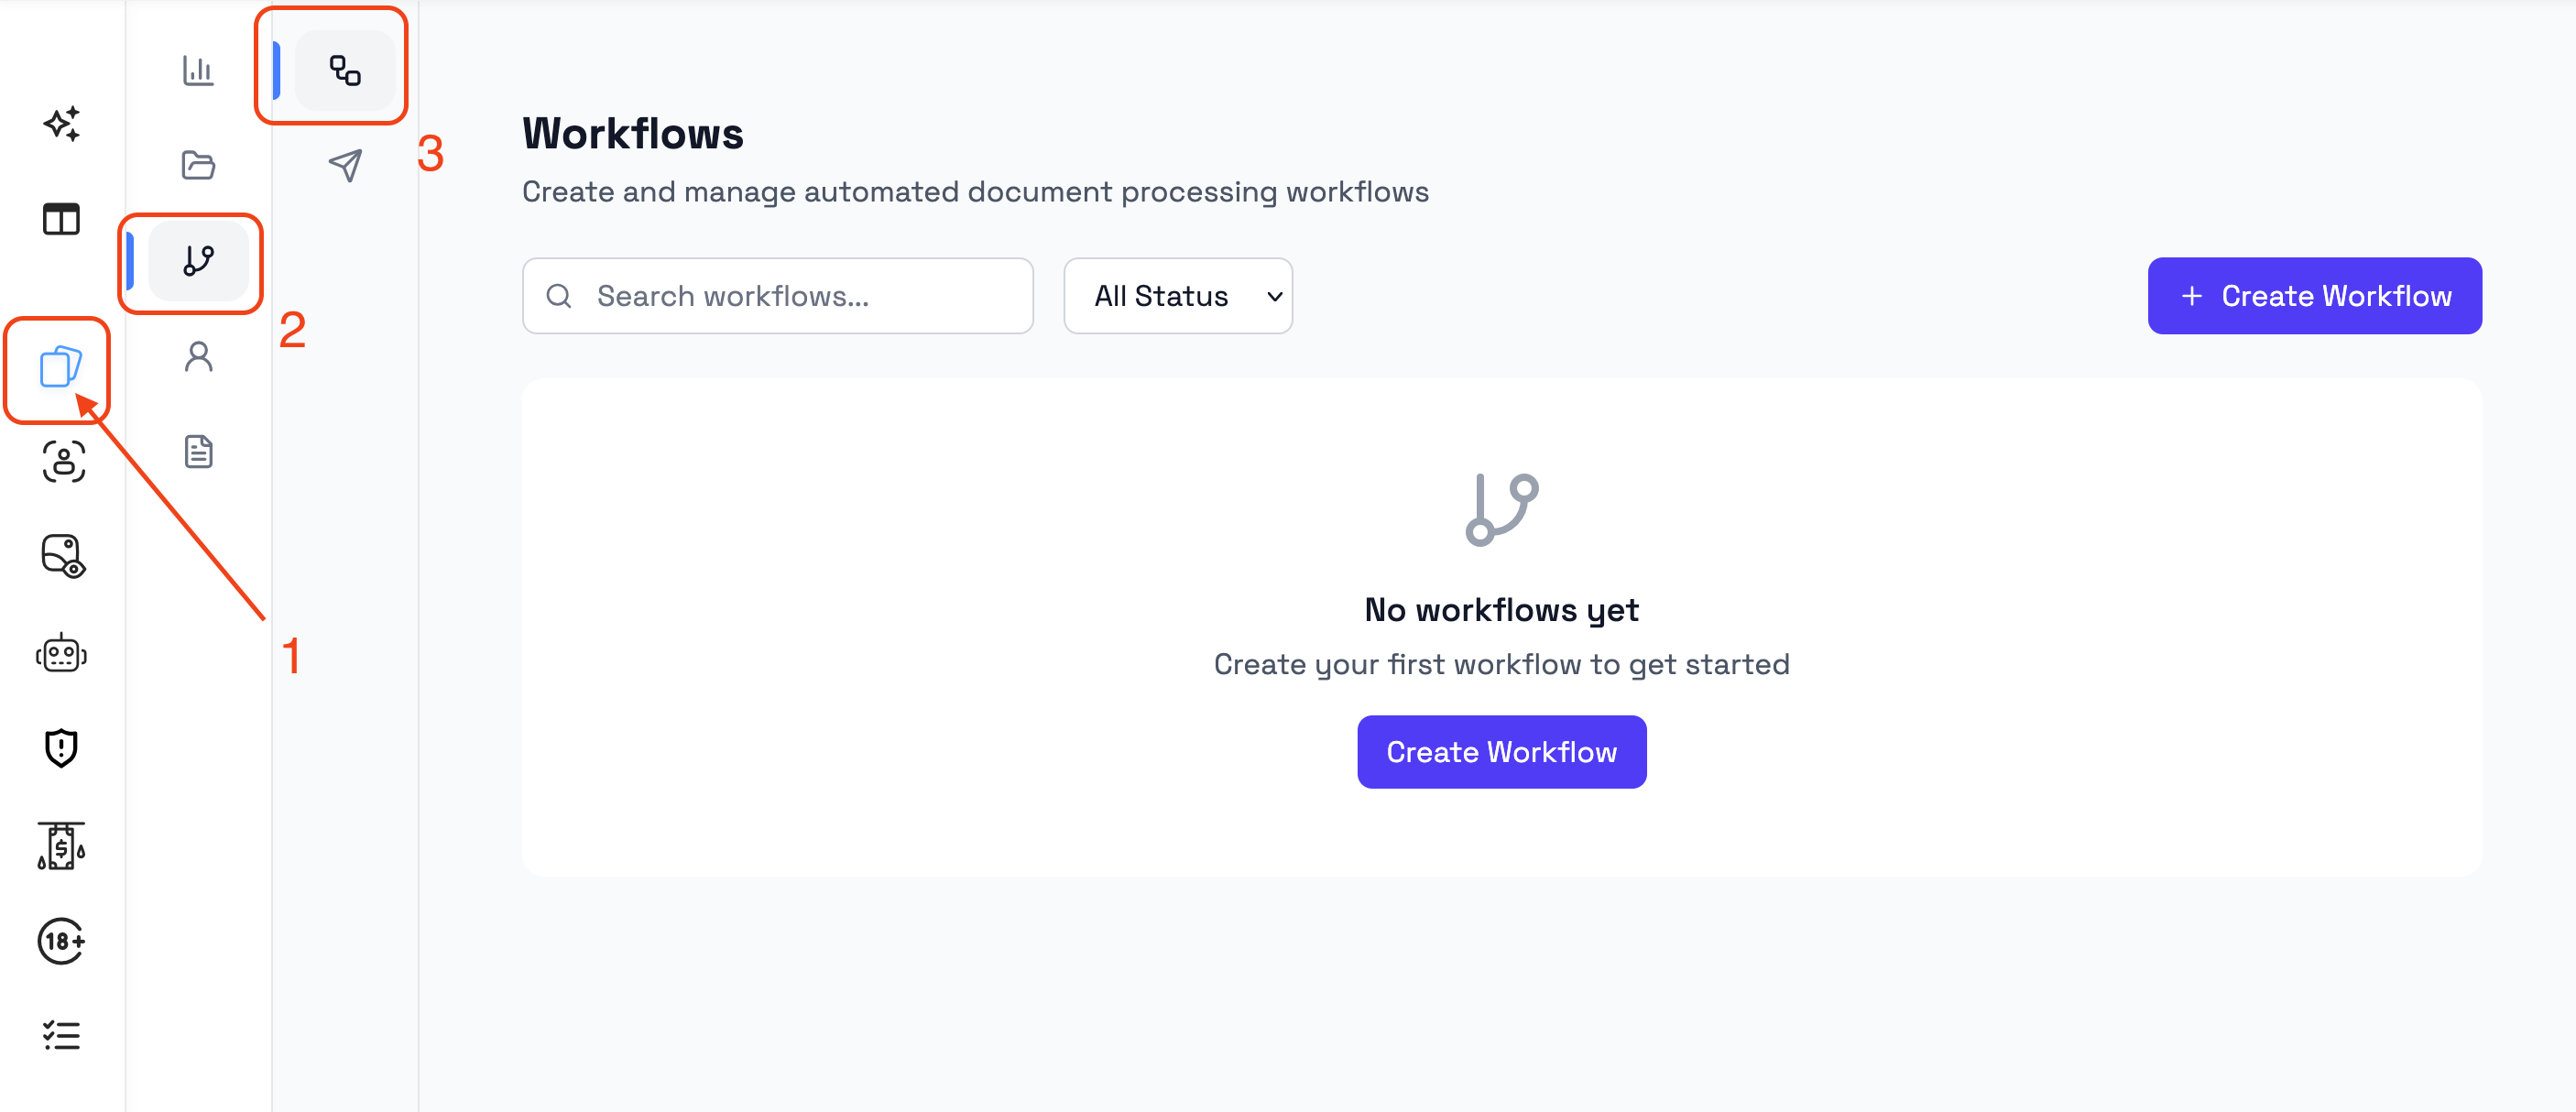
Workflows are created from the Workflows page by selecting Create Workflow.
When a new workflow is created, it opens immediately in the builder. New workflows use a default name such as New Workflow, which can be updated directly from the title field at the top of the page.
The workflow can then be configured by adding nodes from the node library, connecting them on the canvas, and saving the workflow when the structure is ready.
Workflow title
The workflow title appears at the top of the builder and can be edited directly.
New workflows start with a default title. Renaming the workflow updates how it is identified in the workflow list and elsewhere in the product.
The title field is part of the builder header, alongside actions such as variables, export, save, and test run.
Builder layout
The builder is divided into several main areas:
- the node library on the left, where available node categories are shown
- the canvas in the center, where the workflow is built visually
- the settings panel on the right, which appears when a node is selected
- the top bar, which includes workflow-level actions such as save and test run, export and import.
- the canvas overview in the bottom-right corner, which helps users orient themselves in larger workflows
This layout makes it possible to build and configure the workflow without leaving the builder.
Adding nodes
Nodes are added by dragging them from the node library onto the canvas.
The node library is grouped by category, making it easier to locate the correct type of step for the workflow. Once a node is placed on the canvas, it can be positioned where needed and connected to other nodes.
The available categories currently include:
- Triggers
- AI
- Bynn Services
- Actions
- Flow
- Human in the loop
- Decisions
Connecting nodes
Nodes are connected by dragging from one node connector to another.
These connections define how the workflow moves from one step to the next. Depending on the node, a workflow may continue through a single path or branch into multiple outputs.
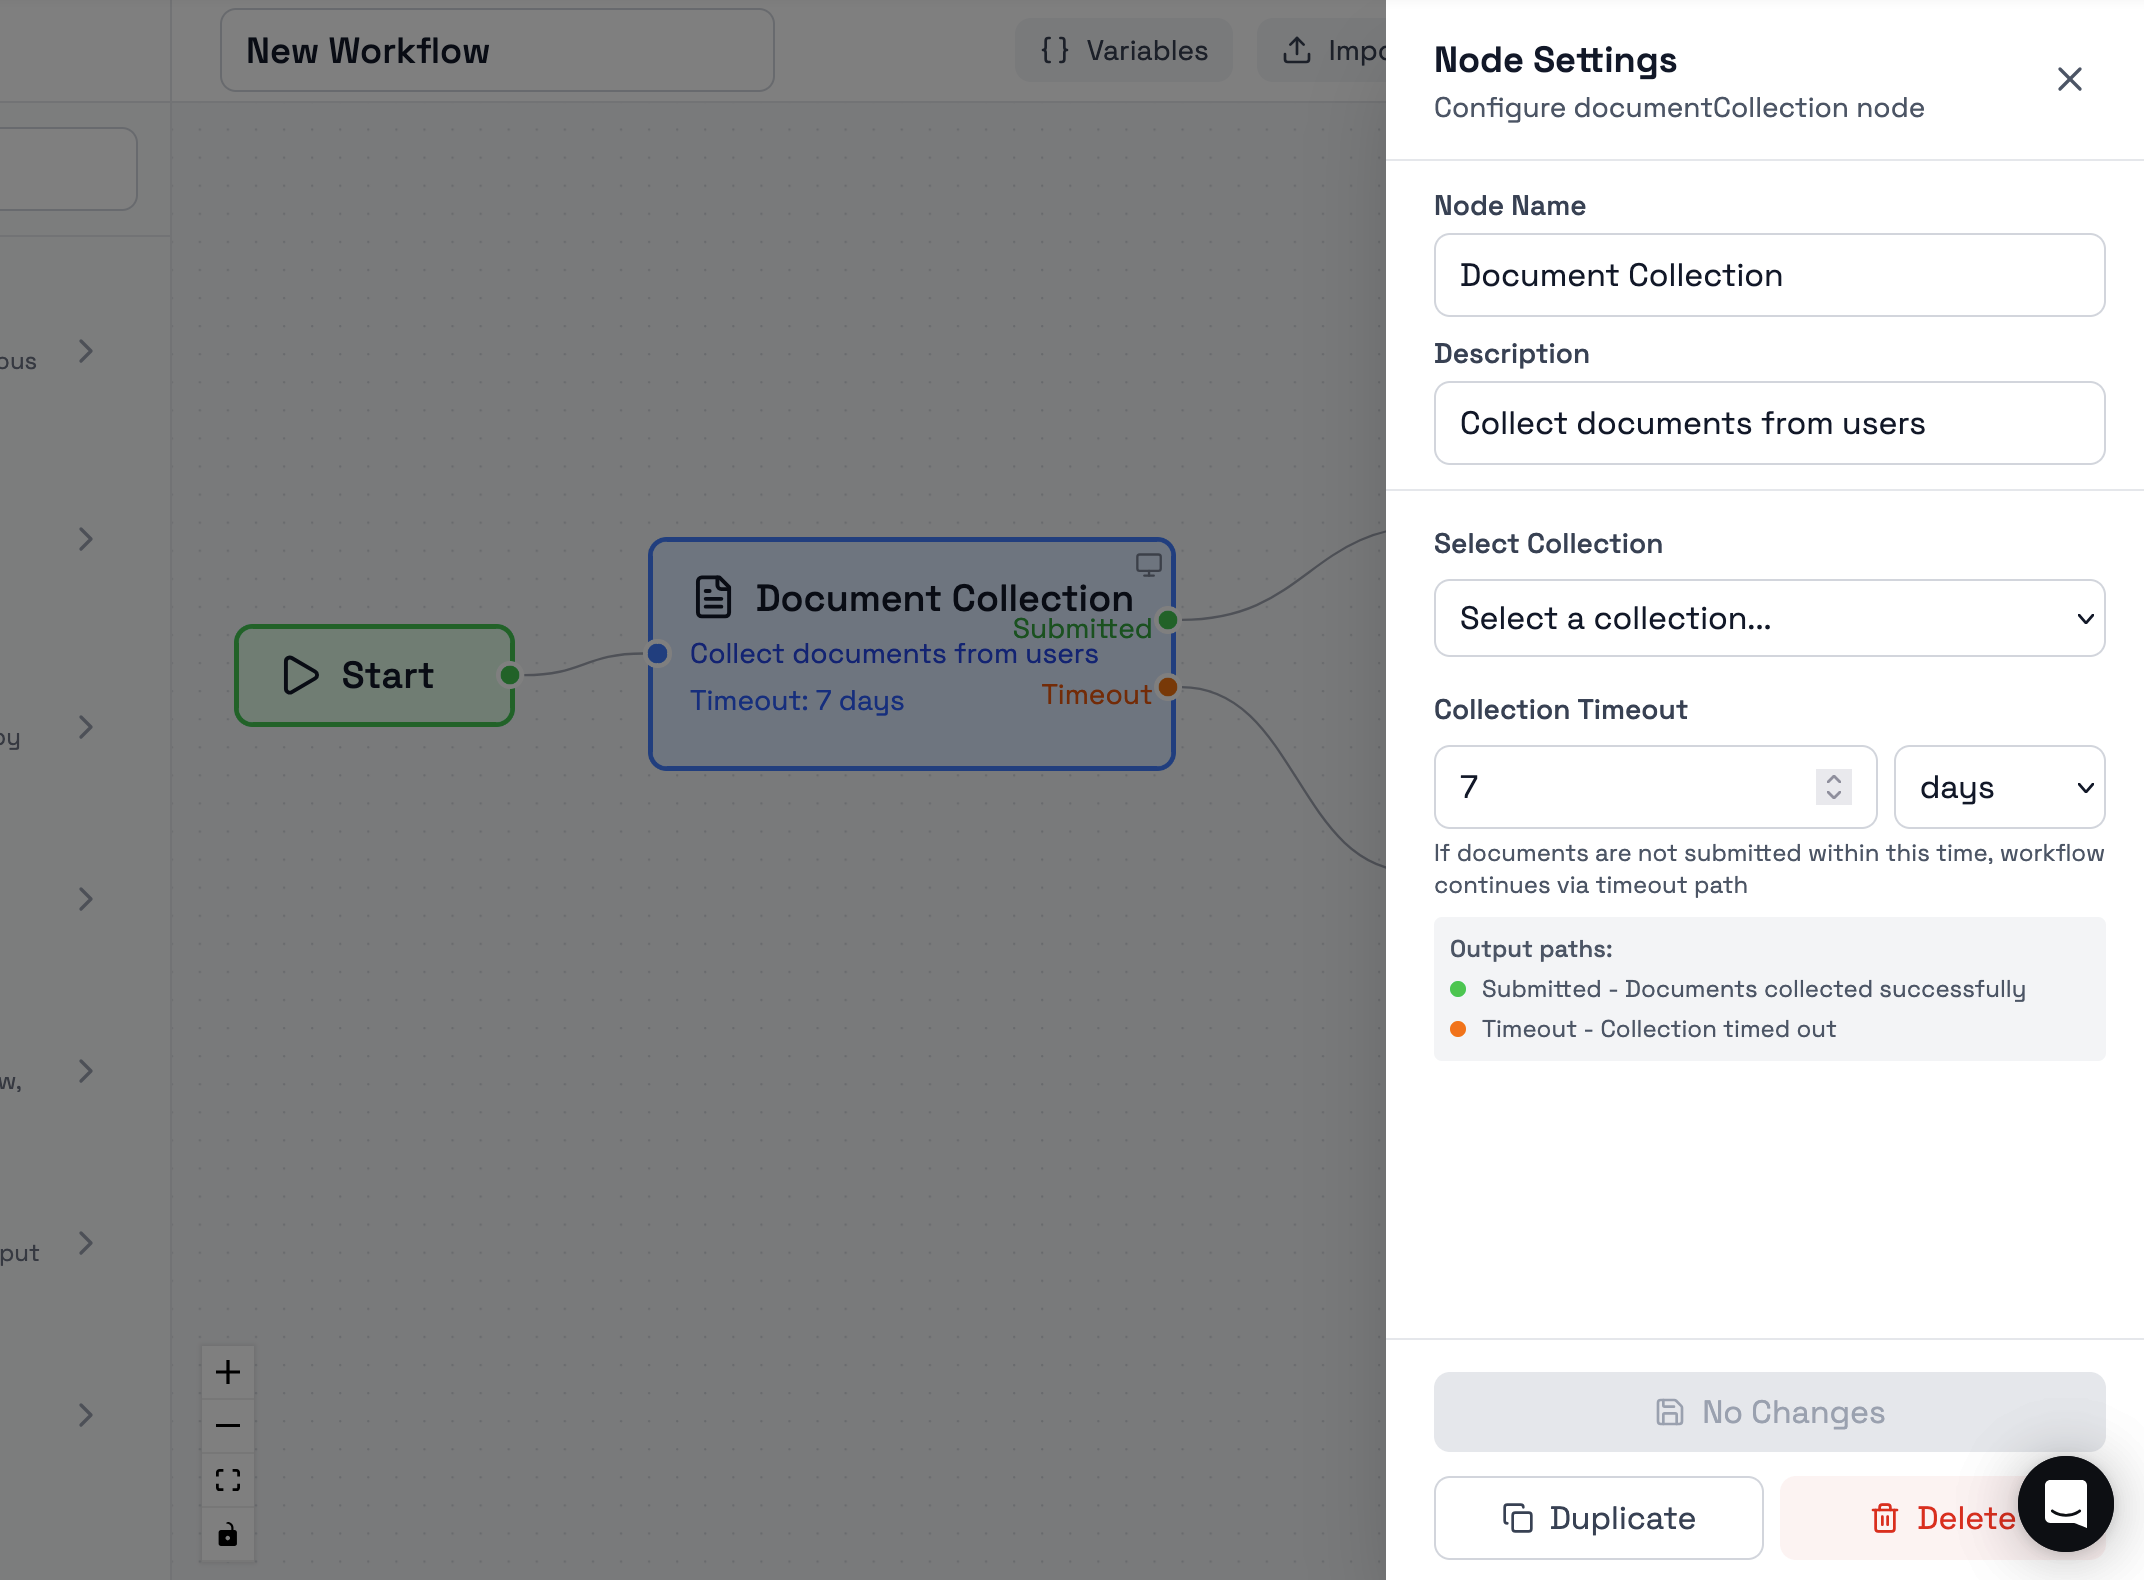
Some nodes support more than one output, which makes it possible to route different outcomes to different next steps. For example, a node may continue through one path when submission succeeds and another if it times out.
Node settings
When a node is selected, its settings open in the panel on the right side of the builder.
This panel is where node-specific configuration is managed. The fields shown depend on the selected node, but typically include the node name, description, and any behavior or routing settings specific to that step.
Changes made in the settings panel apply to the selected node and affect how that part of the workflow behaves.
Start node and Visitor Trigger behavior
New workflows open with a Start node already present on the canvas.
The Start node acts as the visitor entry point for the workflow. If it is removed, a Visitor Trigger can be added and used in the same way.
This means the workflow can still begin from the same type of entry behavior even if the original Start node has been deleted.
Trigger rules and restrictions
Trigger behavior depends on the trigger type used in the workflow.
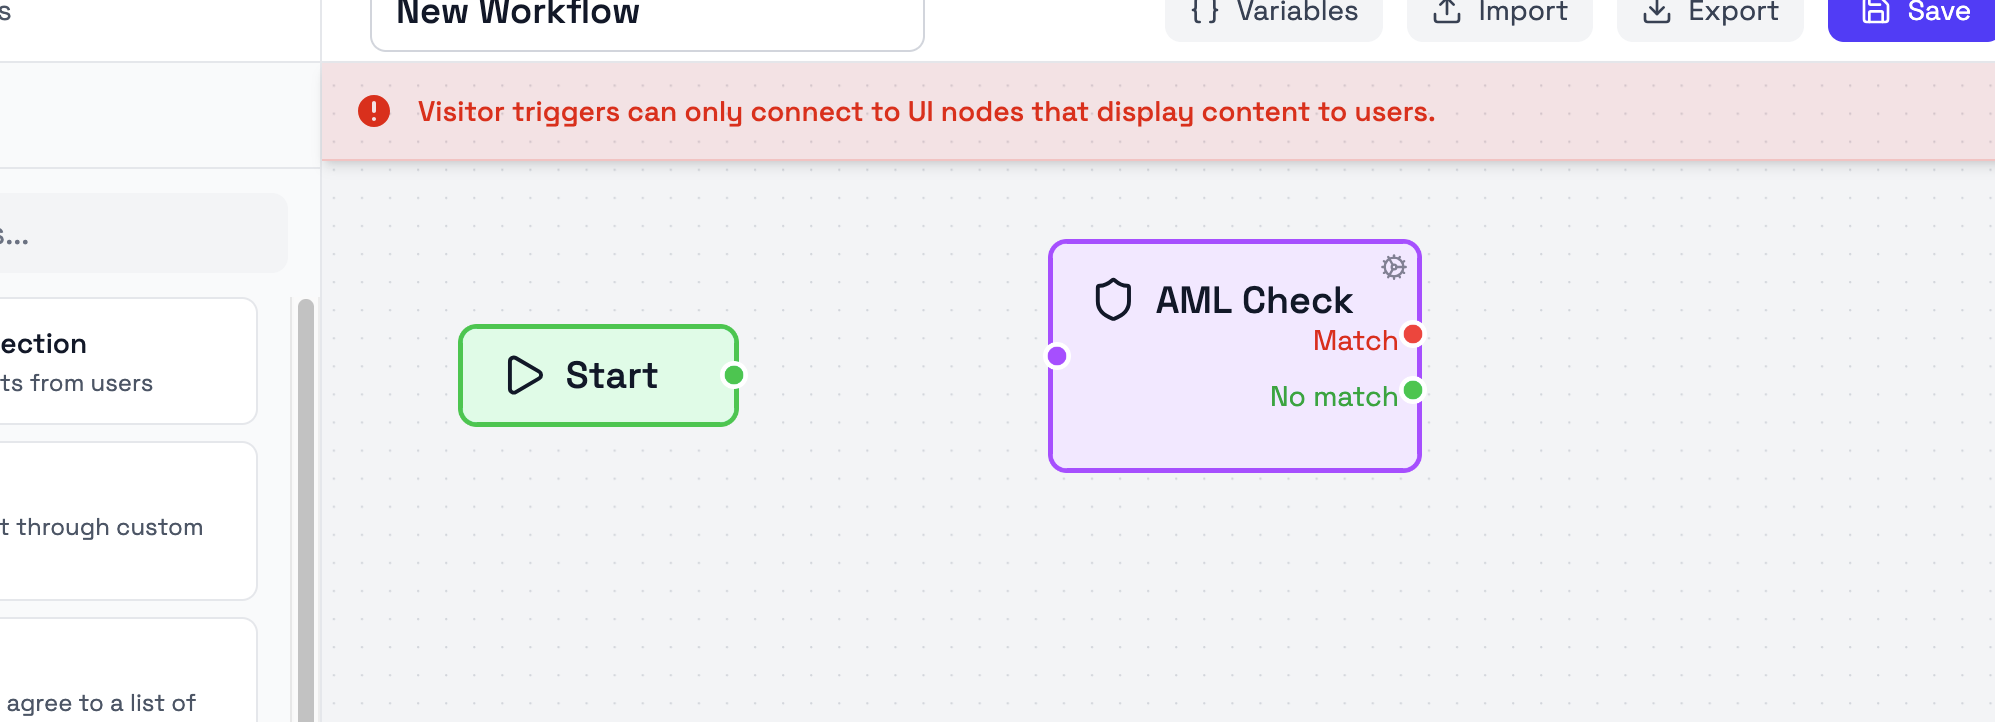
For example, the Start node (used for visitor-facing workflows) can only connect to user-facing nodes such as screens, forms, and document collection steps.
The builder helps enforce these rules. When a connection is not valid, the user is informed in the interface rather than being allowed to save an unsupported structure.
Terminal nodes
Terminal nodes define final workflow outcomes.
New workflows start with an APPROVE node already on the canvas. Additional terminal nodes, such as REJECT, can also be used depending on the workflow design.
Some workflows also place a user-facing screen before a terminal node. In that case, the display screen controls what the user sees, while the terminal node controls the final workflow outcome.
Terminal nodes must be properly connected in the workflow. The builder validates the workflow structure when saving. Most workflows include at least one terminal node to define an outcome (such as APPROVE or REJECT), though the exact requirements may vary depending on your specific workflow design.
Available terminal node types include:
- APPROVE — Workflow ends with approval outcome
- REJECT — Workflow ends with rejection outcome
- NEEDS ATTENTION — Workflow ends with needs-attention outcome
Duplicating workflows
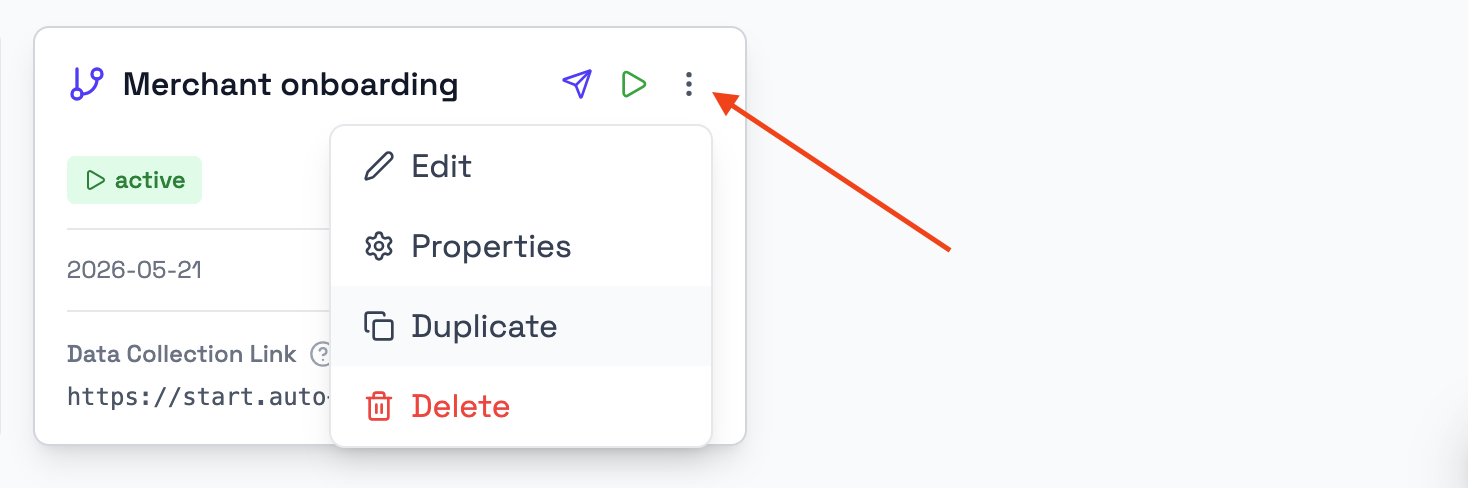
Workflows can be duplicated from the builder when a copy of the current structure is needed.
This is useful when users want to create a variation of an existing workflow without changing the original version directly.
Duplicating can be a practical alternative when the current live workflow should remain unchanged while a new version is prepared separately.
Saving changes
The Save action stores the current workflow configuration and updates the live workflow.
Because saving updates the live version, changes should be reviewed before saving, especially when editing an existing workflow.
If required workflow conditions are not met, the builder prevents saving and shows a prompt explaining what needs to be corrected. This helps users identify missing required nodes or unsupported connection states before the workflow is updated.
Common builder behavior
The builder supports direct visual editing of the workflow structure.
Nodes can be added, selected, connected, duplicated, repositioned, or deleted directly on the canvas. Whether a node can remain unconnected depends on the node type. In some cases this is allowed, while in others the workflow cannot be saved until the required structure is complete.
The builder uses in-product validation to help users resolve these issues during configuration rather than after launch.
The canvas overview in the bottom-right corner is especially useful in larger workflows, where it helps users navigate the full structure more easily.
Updated 4 months ago